
Using Reactjs.net in Web Forms
About React
React is a JavaScript library that allows us to build modern and complex web interfaces. It’s becoming more and more popular and there is a huge buzz around it. The last is absolutely normal as Facebook is the creator of the library and they have heavily invested on it. They even have developed some architecture guidelines on how to build a React application which is called Flux. Lately I am involved in a project that we are using these tools and I have to say it is really fun as it is a fresh technology and certainly changes the way I was used to develop web applications. Lastly React is one of the best libraries out there to develop what is called an Isomorphic JavaScript application. I won’t explain more why isomorphic looks like a safe choice for the future of the web as this is not the goal of the post.
One of the strongest points of React library is that you can produce the same HTML mark up in an easy way both client and server side. As a JavaScript library it is easy to understand how this happens because it doesn’t differs from other client side templating engines like Handlebars or Dust.js. Now on the server side it’s really easy to create the same HTML mark up once you are using node.js something that is quite powerful as you could potentially render one part of the application server side and the rest client side. This approach has the obvious advantage that the user experience is excellent as it gets the most important part of the information immediately and the rest of the page can be loaded client side.
ReactJS.NET and ASP.NET MVC
Some of the core React team members, have been created a library that consists of several nuget packages that allows server side rendering of a react application. I would like to explain a bit more on this as the approach the team adopted is brilliant. I was playing with the source code, which is available on GitHub repository, and trying to understand how they accomplish to execute JavaScript code inside a .NET application. The library uses either the V8 JavaScript engine or Internet Explorer’s JavaScript engine and creates a context where regular JavaScript code is executed and evaluated which offers tremendous flexibility.
There is an official page for ReactJS.NET that offers a very good documentation and examples of how to use it. All the examples describing how to use ReactJS.NET inside an ASP.NET MVC application and there are the corresponding nuget packages which we can install to achieve this. Once we have installed the nuget package we can add the code below inside any Razor view and we will get back the HTML from the React components. Of course there are more steps involved and you can find detailed instructions here.
- cs
@Html.React("HelloWorld", new {
    name = "Daniel"
})
ReactJS.NET in Web Forms
Now I will try to demonstrate how to use ReactJS.NET inside a Web Form. The first step is to create a Web Forms project from the well known Visual Studio wizard as in the following image

The following step is to install the Reactjs.Net nuget package by typing the command below in the Package Manager console.
- ps
Install-Package React.Web.Mvc4 -verboseThis will install all the required dependencies for server side rendering to work. It will also install some dependencies that are only MVC specific but this is not a problem as the structure of two projects are very similar.
Now it’s time to create the first simple React component. Inside the Scripts folder we create a components sub folder where we can add the helloWorld.jsx file. The file contains a mix of JavaScript and HTML mark up syntax.
- js
var PageContent =  React.createClass({
  render: function() {
    return (
      <div>
        Hello world from {this.props.user}
      </div>
    );
  }
});
I am not going to explain this piece of code as this is pure React and you can get all the required details in the official site. After doing this we need to change the ReactConfig file inside App_Start folder which added when we installed the nuget package. More specifically we need to add to the configuration the jsx file we just created. This is pretty straightforward and we can achieve it by adding the following statement.
- cs
ReactSiteConfiguration.Configuration
  .AddScript("~/Scripts/components/helloWorld.jsx");
Render the content inside a Web Form
In order to render the produced HTML inside a Web Form we need to add a literal asp control to the page and then assign the value of it in the code behind file and more specifically in the page load method. So the Default.aspx file should look like this:
- cs
<asp:Content ID="BodyContent" ContentPlaceHolderID="MainContent" runat="server">
  <asp:Literal ID="PageContent" runat="server"></asp:Literal>
</asp:Content>
and the the Default.aspx.cs file like this:
- cs
protected void Page_Load(object sender, EventArgs e)
{
var env = AssemblyRegistration.Container.Resolve<IReactEnvironment>();
var objectModel = new { user = "React User" };
var reactComponent = env.CreateComponent("PageContent", objectModel);
PageContent.Text = reactComponent.RenderHtml();
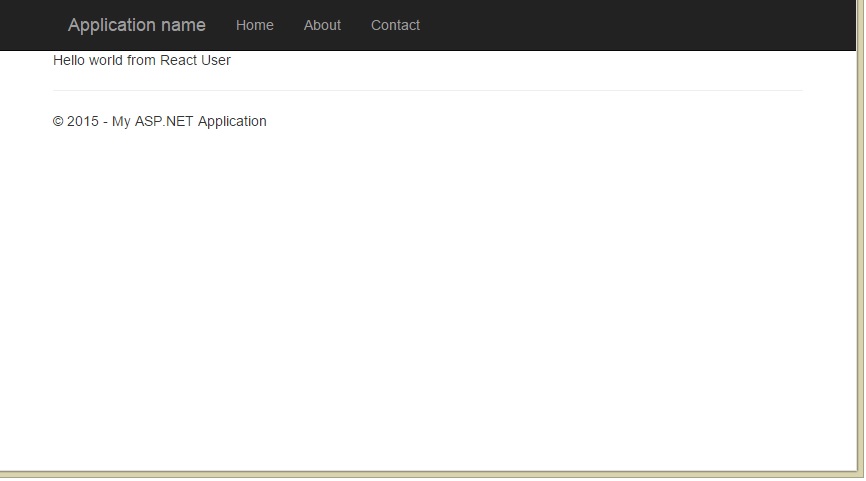
}The code here is pretty simple and self explanatory. One point I would like to highlight is that the first parameter in CreateComponent method it should be the same as the name of the variable in the first line of jsx file. On top of this the second argument can be any object that holds the application data. In the picture below you can see the final result.
I have created a corresponding GitHub repository that contains a working example
